Simple but tried & tested construction.....
Below you will find the various stages of a 4 draw set being built; including details of the types of joints and how it all fits together.
This is just one project, a different but similar project may use different techniques depending on timber choice and budgets. The simple techniques below allow us to produce durable furniture without having to charge enormous amount of man hours.
Quite often our hand made furniture will be similar in cost to shop bought flat pack furniture when using these techniques and timbers.
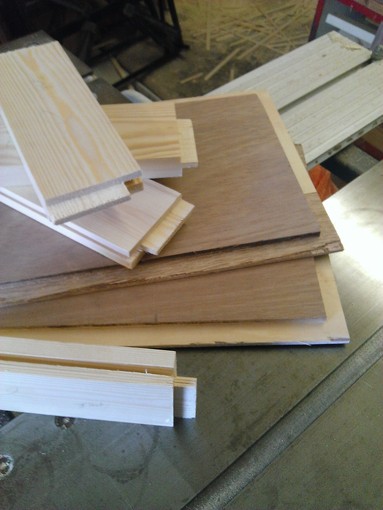
The Tenons for the side panels.....
A traditional method and giving a very strong joint. The tenons on the rails are cut to fit in the rebate which also takes the inset panel. This saves time when cutting and allows a lot of repeat cuts without resetting saw guides and jigs. The inset panels are shown with the cuts to allow them to run in the rebates.
A traditional method and giving a very strong joint. The tenons on the rails are cut to fit in the rebate which also takes the inset panel. This saves time when cutting and allows a lot of repeat cuts without resetting saw guides and jigs. The inset panels are shown with the cuts to allow them to run in the rebates.
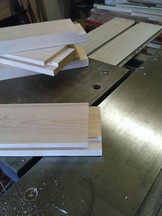
All the components dry fitted
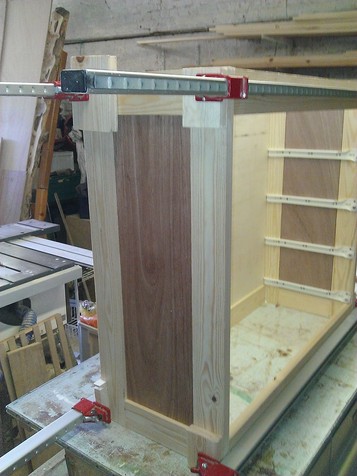
Glueing Up.....
The side panels are glued together and then the unit takes shape using mortice & tenon joints to the cross rails which hold the panels together and give the unit its width.
You can see the draw runners already fitted, this is done before the sides are bought up to ensure, they exactly mirror each others position, so keeping the draws 90 degrees to the side panels.
The draw boxes are shown in position prior to having the draw fronts fitted.
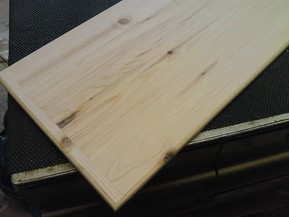
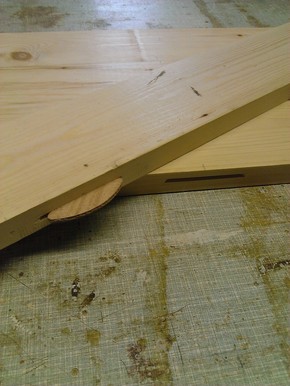
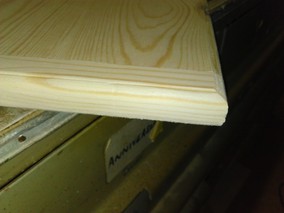
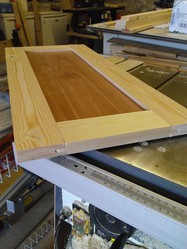
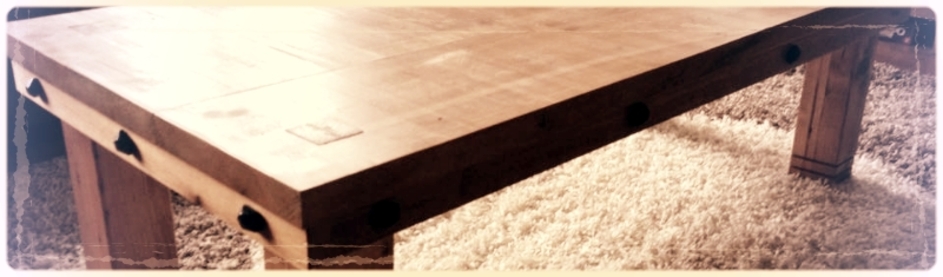
The Worktop.....
Individual "planks" are matched and selected before being prepared and glued together using biscuits. The beech biscuits are recessed into slots, absorbing the glue and moisture, causing them to swell, which creates a very tight joint in addition to the glue used for each plank.
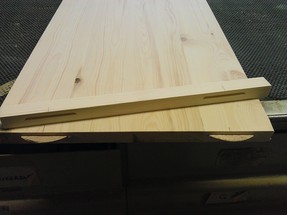
A modern take on the traditional cleat or Breadboard End, is used to finish the ends of the worktop. Biscuits have been used, but tenons can be used for a more traditional finish.
To help prevent cupping, grain is laid side by side in opposite directions. So on one board the grain may curve up, in the next you want it to curve down and so on for the whole panel. Planks are also selected for it's grain, with time being spent to ensure the best finish is found, even on softwoods, beautiful grain can be found.
Individual "planks" are matched and selected before being prepared and glued together using biscuits. The beech biscuits are recessed into slots, absorbing the glue and moisture, causing them to swell, which creates a very tight joint in addition to the glue used for each plank.
A modern take on the traditional cleat or Breadboard End, is used to finish the ends of the worktop. Biscuits have been used, but tenons can be used for a more traditional finish.
To help prevent cupping, grain is laid side by side in opposite directions. So on one board the grain may curve up, in the next you want it to curve down and so on for the whole panel. Planks are also selected for it's grain, with time being spent to ensure the best finish is found, even on softwoods, beautiful grain can be found.
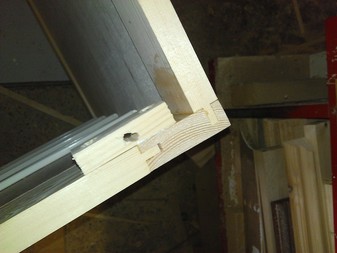
The Worktop, in the detail.....
This image shows one of the mounting blocks at the back of the unit, used to fix the work top to the carcass.
The screw hole has been elongated to allow for the expansion and contraction of the worktop. This movement occurs due to temperature and moisture changes in the atmosphere. Allowing it to move helps to prevent cracking of the wood
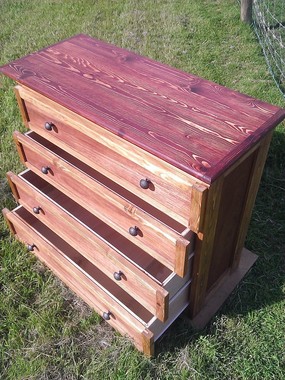

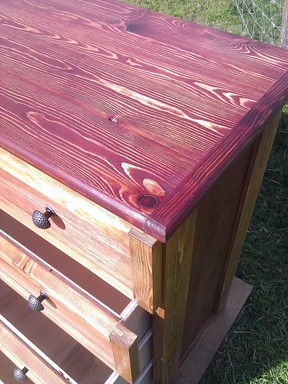
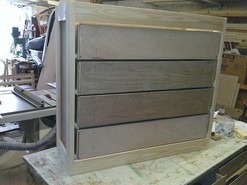
The Finished Draws.....
Wood dyes are used to colour the timber, with a contrasting colour used for the top and handles. This has then been finished using a brushing wax. Unlike varnishes, the wax soaks in and nourishes the wood, allowing it to breath and ensuring the beauty of the grain of the wood stands out, leaving a lovely satin sheen
Wood dyes are used to colour the timber, with a contrasting colour used for the top and handles. This has then been finished using a brushing wax. Unlike varnishes, the wax soaks in and nourishes the wood, allowing it to breath and ensuring the beauty of the grain of the wood stands out, leaving a lovely satin sheen
Telephone - 0778 9930 538
E-mail - cuckfieldcarpentry@gmail.com
E-mail - cuckfieldcarpentry@gmail.com